Step-by-Step Process for Introducing Puppies to Ear Cleaning
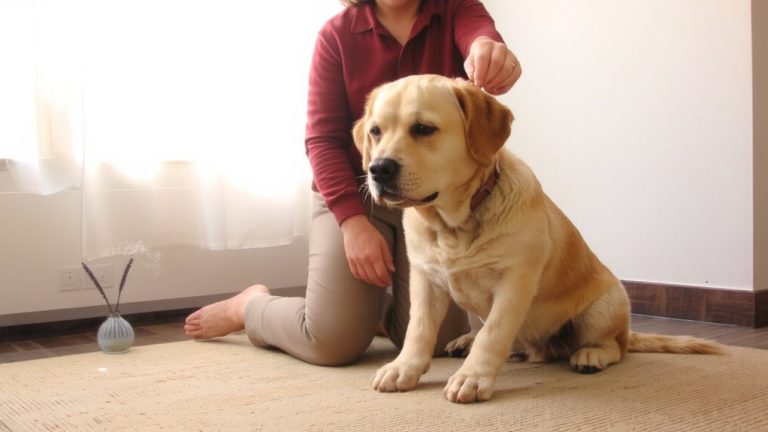
Start ear handling by 8 weeks using gentle touches on the head and ear flaps for a few seconds daily, pairing each touch with treats like boiled chicken. Use a vet-approved cleaner with chlorhexidine, avoiding alcohol-based solutions. Clean outer folds with a damp cotton ball, apply solution, massage the base for 20–30 seconds, then let your puppy shake and wipe away debris. Keep sessions positive and gradual-consistency builds cooperation, especially in floppy-eared or hairy-canalled breeds, and sets the stage for what comes next.
We are supported by our audience. When you purchase through links on our site, we may earn an affiliate commission, at no extra cost for you. Learn more. Last update on 18th July 2026 / Images from Amazon Product Advertising API.
Notable Insights
- Start ear handling early at 8 weeks by gently touching ears for a few seconds daily.
- Use high-value treats to build positive associations before and during ear touching.
- Introduce the ear cleaner’s sight and smell paired with treats to reduce fear.
- Apply vet-approved solution, massage the ear base, then let the puppy shake.
- Wipe outer ear folds with a damp or dry cotton ball-never insert tools deeply.
Start Early: Train Puppies to Accept Ear Cleaning
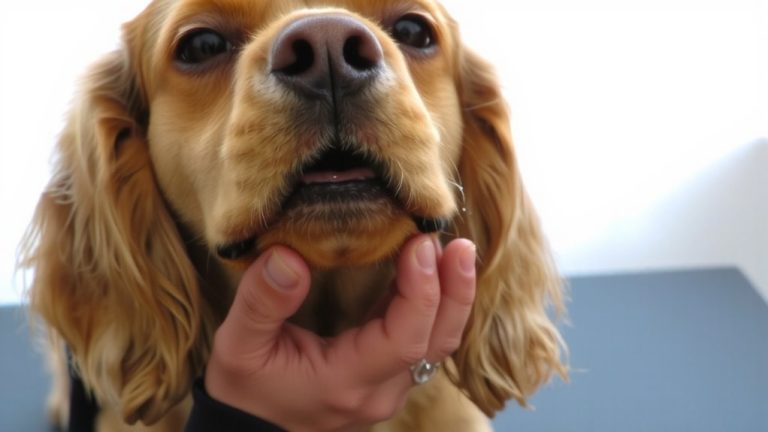
While your puppy’s ears may seem like a small detail now, getting into the habit of ear care early-starting as young as 8 weeks-can prevent problems down the road, especially for floppy-eared breeds like Cocker Spaniels or puppies with hairy ear canals like Poodles. Start early by gently touching the head and ear flaps for a few seconds, using treats to create positive associations. For ear cleaning, use a vet-approved ear cleaner, dampening a few cotton balls-never insert them. Wipe only the visible parts, then apply a few drops of the solution and massage the ear base for 20–30 seconds to loosen debris. Puppies who experience this routine multiple times per week adapt faster. Consistency builds trust, making future cleanings easier. With regular handling, your puppy learns calmness, cooperation, and care-a simple habit that supports lifelong ear health.
Know What Healthy Puppy Ears Look Like
A healthy ear means trouble-free days and happy head scratches-yours and your pup’s. Healthy puppy ears are pale pink, with no redness, swelling, or foul odor. Check inside the ear canal regularly: it should be relatively dry, with minimal waxy buildup and no dark discharge or crusty debris inside the ear. The ear flap should feel cool, look clean, and show no scabs, rash, or signs of parasites. Black, coffee-ground-like debris inside the ear? That’s a red flag for mites. Your pup shouldn’t shake their head often or scratch their ears-if they do, something’s off. No swelling or sensitivity when you touch the ear flap means you’re on the right track. Monitoring these signs helps catch issues early. Knowing what normal looks like makes all the difference in keeping your puppy comfortable and infection-free. Regular inspection is simple, quick, and essential for long-term ear health.
Pick a Vet-Approved Ear Cleaner for Puppies
Now that you know what healthy puppy ears should look like, it’s time to choose the right cleaner to keep them that way. When selecting an ear cleaning solution, always pick a vet-approved ear cleaner specifically formulated for puppies. These products are gentle on sensitive tissues and effective at maintaining ear health. Look for ingredients like chlorhexidine or dioctyl sodium sulfosuccinate, which clean without irritation. Avoid inserting anything deep into the ear canal-cleaning your furry friend’s ears should only involve the visible parts. Never use solutions with alcohol or hydrogen peroxide, as they can cause discomfort. For puppies with recurring issues, medicated cleaners may help, but only under veterinary direction. Always contact your veterinarian, like those at Oliver Animal Hospital, to choose the best product based on your puppy’s breed, ear shape, and medical history.
Clean Your Puppy’s Ears Step by Step
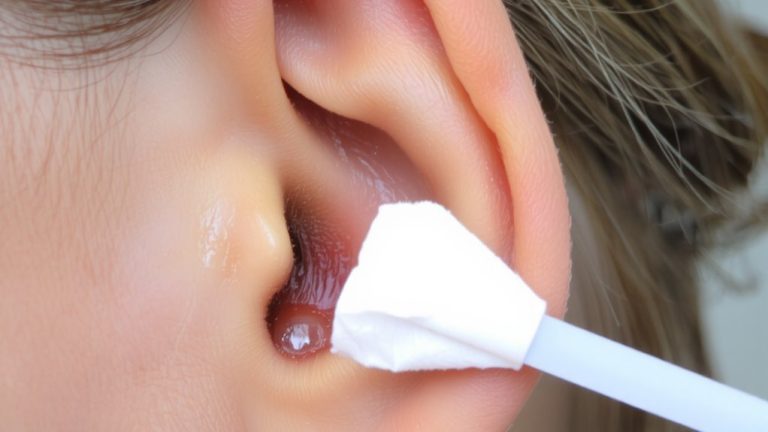
How do you keep your puppy’s ears clean without causing stress or harm? Cleaning your pet’s ears becomes easy when you follow a gentle, step-by-step routine. Start by touching their ears and rewarding calmness. Use a vet-approved solution to dampen a cotton ball-never insert it. Focus on cleaning visible dirt and debris in the outer folds. Then, apply more solution and spend 20–30 seconds massaging the ear base to loosen buildup deep in the L-shaped canal. Let your puppy shake their head to bring debris to the surface. Wipe gently with a dry cotton ball. Never go beyond one knuckle deep.
| Step | Action |
|---|---|
| 1 | Clean folds with moistened cotton |
| 2 | Massage the ear to loosen debris |
| 3 | Let them shake their head, then wipe |
Use Treats to Make Ear Cleaning Positive
Building on the routine of gentle touch and step-by-step cleaning, turning ear care into a positive experience hinges on one powerful tool-you’ve already started using treats as rewards, but now it’s time to make them part of the process, not just the payoff. Use high-value treats like small pieces of chicken or cheese to create positive reinforcement during the entire ear cleaning process. Start by offering a treat just for letting you practice touching near the ear, then reward each brief contact. Gradually increase touch duration across short sessions. Pair the sight and smell of the ear cleaner with treats, even without actual cleaning, to build good associations. Keep giving treats while gently massaging the ear base to maintain calm. Consistent praise and treats after each step teach your puppy that ear handling leads to rewards, making future cleanings easier and stress-free.
Fix Fear of Ear Cleaning in Puppies
If your puppy tenses up or pulls away when you reach for their ears, you’re not too late to turn things around-start by touching the ear gently for just a second, then immediately give a pea-sized piece of boiled chicken or a smelly training treat like Zuke’s Mini Naturals, reinforcing calm behavior before any cleaning occurs. To fix fear of ear cleaning in puppies, use positive reinforcement during every step: let them sniff the bottle of ear cleaner, then dab a cotton ball with the solution near their ear while offering praise. Gradually increase touch and handling, always pairing ear cleaning steps with treats. Avoid forceful cleaning-it creates lasting fear. If anxiety persists despite slow progress, seek veterinarian consultation to rule out pain and explore a tailored behavior plan. With patience, most puppies learn to accept, even stay calm during, ear care.
When to Call the Vet for Ear Issues
What should you do when something seems off during your puppy’s ear care routine? If you notice redness, swelling, a foul odor, or discharge, Contact Oliver Animal Hospital right away-these are common signs of ear infections. Avoid using cotton swabs, as they can push debris from your pet’s ear deeper and risk damaging the eardrum. Your dog’s ears have an L-shaped canal, making it hard to reach beyond the vertical bend safely. If there’s deep debris or your puppy shows pain, don’t clean it yourself. Puppies with a history of ear issues, allergies, or breed-specific ear conformation need special care. Always consult a vet before starting a regular ear cleaning routine. If your pup resists handling, yawns, stiffens, or avoids touch, it’s time for a professional check-up.
On a final note
Start early, clean gently, and always use a vet-approved ear cleaner like Virbac Epi-Otic. Healthy ears are pale pink and odor-free. With cotton balls and calm praise, wipe only the visible part weekly. Treats after each try build trust fast. If your pup flinches, pause and desensitize slowly. When redness, wax, or head shaking persists, call your vet-you’re catching it early, which helps healing.