Step-by-Step Guide to Performing Water Changes in a 10-Gallon Community Aquarium
Use a 5-gallon bucket marked in increments to remove 2.5–3 gallons of water, then clean the substrate with a gravel vacuum like the Qanvee or Hygger HG080, lifting debris without disturbing beneficial bacteria. Treat replacement water with 1 cap of Seachem Prime per 10 gallons and match the temperature within ±1°F using a digital thermometer. Refill gently against the glass to avoid disturbing fish, then restart the filter, heater, and lights in sequence. For ongoing clarity and algae control, add SL-Aqua Aquarium Plant Protector Z2 after each change-there’s more to mastering your tank’s balance just ahead.
We are supported by our audience. When you purchase through links on our site, we may earn an affiliate commission, at no extra cost for you. Learn more. Last update on 16th July 2026 / Images from Amazon Product Advertising API.
Notable Insights
- Use a 5-gallon bucket and gravel vacuum to remove 2.5–3 gallons of water, targeting 25–30% of the tank volume.
- Treat replacement tap water with Seachem Prime to neutralize chlorine, chloramine, and heavy metals before use.
- Match new water temperature to the tank within ±1–2°F using a digital thermometer to prevent fish stress.
- Siphon debris from the substrate gently, avoiding disturbance of beneficial bacteria and direct suction on fish.
- Restart filter first, then heater and lights, and perform weekly 25% water changes to maintain stable conditions.
Pick the Right Tools for Your 10-Gallon Tank Water Change
You’ll only need a few key tools to tackle a 10-gallon water change efficiently and safely. Start with a 5-gallon bucket marked in increments so you can precisely remove 2.5–3 gallons-25–30% of the tank’s water volume-without guesswork. A gravel vacuum like the Qanvee or Hygger HG080 makes siphoning debris from the substrate easy while preserving beneficial bacteria vital to stable water parameters. Always treat incoming tap water with a dechlorinator such as Seachem Prime; it instantly removes chlorine, chloramine, ammonia, nitrite, and heavy metals. This water conditioner is a must for safe water changes. Monitor temperature closely with a reliable thermometer to avoid stressing your fish. Though not part of the refill process here, remember that matching water temperature is essential. These tools keep your aquarium’s environment consistent and your fish healthy over time.
Prep Dechlorinated Water to Match Tank Temperature
While your aquarium’s inhabitants depend on stable conditions, getting the temperature of new water just right is key to avoiding stress during a change. You’ll want the dechlorinated water to closely match the tank temperature, minimizing temperature changes that could shock fish like goldfish or rosy red minnows. Start by measuring your tank’s water temperature, then prepare your new water in a 5-gallon bucket. Add one capful of Prime dechlorinator per 10 gallons, ensuring the water is safe and neutralized. Let the bucket sit in the same room for 1–2 hours or use a submersible heater to match the ideal temperature. Always verify with a digital thermometer before adding, ensuring the water parameters and temperature are aligned.
| Parameter | Target | Tolerance |
|---|---|---|
| Water Temperature | Matches tank | ±1–2°F |
| Dechlorination | Prime (1 cap/10 gal) | Instant |
| Acclimation Time | 1–2 hours or heated | Until it closely match |
Siphon Old Water and Clean the Substrate
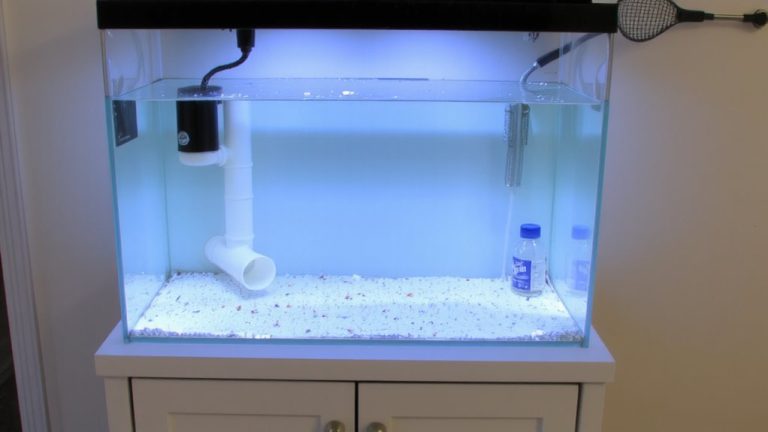
Start by siphoning 2.5 to 3 gallons-about a quarter to a third-of the old water using a gravel vacuum like the Qanvee or hygger HG080, which efficiently lifts debris and fish waste from the substrate without disturbing the beneficial bacteria below. Hold the vacuum just above the substrate area to clean the substrate thoroughly while avoiding deep suction that could disrupt the biological balance. Prime the hose with the air ball or gravity to start water flow, then systematically pass the gravel vacuum across the tank floor, overlapping sections to guarantee full coverage. This process helps remove accumulated fish waste and prevents harmful spike in toxins. Keep an eye on rosy red minnows and goldfish during the siphon old water step-avoid direct suction near them, especially in low water flow zones where they like to rest.
Refill Gently to Avoid Stressing Fish
After removing the old water, it’s time to refill the tank carefully, since a sudden rush of water can scatter substrate and stress out sensitive fish like rosy red minnows and goldfish. To refill gently, pour new water against the glass or use a plate to minimize substrate disturbance. Always match temperature closely-within 1°F-to prevent thermal shock. Use a 5-gallon bucket with volume markings to add precisely 2.5–3 gallons, guaranteeing a proper 25–30% change. Treat tap water first with a water conditioner like Seachem Prime to neutralize chlorine instantly. Elevate the bucket slightly and use a gravity siphon for a steady, controlled flow that helps avoid stressing fish during pouring new water.
| Method | Benefit | Tip |
|---|---|---|
| Pour against glass | Reduces flow impact | Use a clean plate |
| Match temperature | Prevents thermal shock | Check with a reliable thermometer |
| Use volume markings | Guarantees correct refill amount | Stick to 2.5–3 gallons |
Restart Filter, Heater, and Lights Safely
Now that your tank’s water level is back to where it should be, it’s time to power things back up, starting with the filter. Restart the filter first to restore circulation and maintain stable water parameters, especially important in a 10-gallon tank size where fluctuations happen faster. Make sure the filter’s inlet and outlet are fully submerged to prevent air lock. Next, reconnect the heater only after confirming it’s completely covered by proper water levels to avoid damage. Set it to 68–74°F, depending on your fish. Remember, consistent temperature supports health after removing water. Turn on the lights last-delaying helps limit algae triggers post-water change. Keeping the frequency of water changes regular, like 25% weekly, guarantees your ecosystem stays balanced. This routine supports ideal conditions, making your maintenance efforts effective and safe for all inhabitants.
Keep Algae Under Control After Water Changes
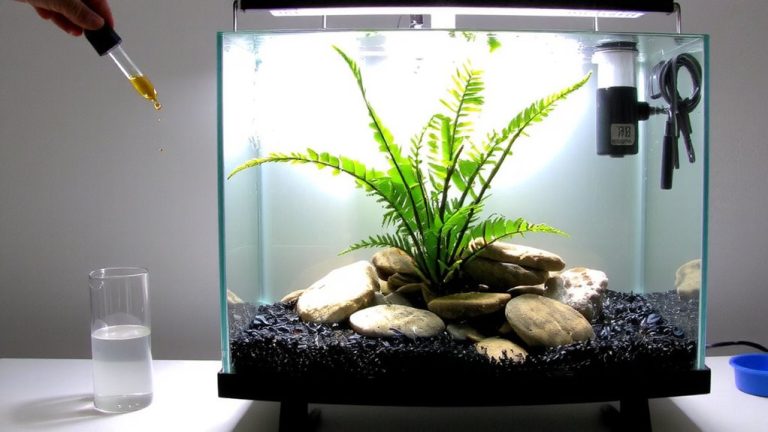
Though water changes help reset nutrient levels, they can temporarily fuel algae bloom if not managed carefully, especially in small, 10-gallon systems where imbalances appear fast. To prevent this, reduce light duration and intensity after Changing Water-turn off aquarium lights for a full week if you notice greenish, cloudy water. Scrape visible algae from glass before siphoning to remove biomass and limit nutrient recycling. Apply SL-Aqua Aquarium Plant Protector Z2 after removing old water but before refilling; it’s proven to suppress algae during performing water changes. Maintain a consistent water change frequency: opt for 50% weekly if nitrate levels climb or algae persist. Regular water changes lower phosphate and remove harmful substances that fuel outbreaks. While reverse osmosis water helps control minerals, most tap water works fine with proper conditioning. Boost live plants to outcompete algae for nutrients, creating a healthier, more stable tank.
On a final note
You’ve got this: stick to 25% weekly water changes using a siphon hose with a gravel vacuum, match new water to tank temp (78°F is ideal), and always add dechlorinator-like Seachem Prime, 1 drop per gallon. Reboot your filter, heater, and LED light promptly. Consistent upkeep keeps ammonia low, fish active, and water crystal clear. Your tetras and shrimp thrive when routines stay steady.