How to Dry a Dog’s Ears After Bathing to Prevent Moisture Trapping
After bathing, gently squeeze your dog’s ear flap to release excess water, especially if they have floppy ears like Cocker Spaniels. Use a super-absorbent microfiber towel to blot the ear fur thoroughly, then place dry cotton balls at the canal opening to wick out trapped moisture, replacing them every few seconds until they come out dry. For dogs with thick ear hair, wrap the ear leather in paper towels before using a low-heat, low-noise dryer. You’ll also want to know how drying solutions and preventive habits can boost ear health.
We are supported by our audience. When you purchase through links on our site, we may earn an affiliate commission, at no extra cost for you. Learn more. Last update on 19th July 2026 / Images from Amazon Product Advertising API.
Notable Insights
- Gently squeeze the ear flap to remove excess water, especially in dogs with floppy ears.
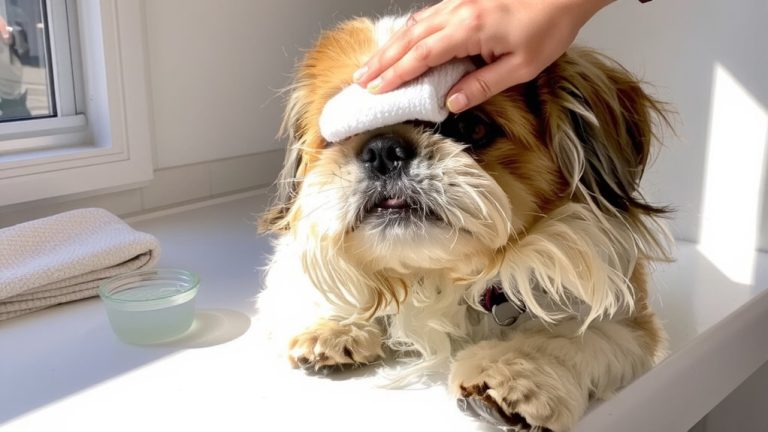
- Blot ear fur thoroughly with a super-absorbent microfiber towel to wick away surface moisture.
- Place dry cotton balls at the ear canal opening to absorb residual water, replacing until dry.
- Wrap ear leather in paper towels before using a low-heat, low-noise dryer for dogs with thick ear hair.
- Avoid pushing cotton deep into the ear and never leave it in after bathing.
Dry Ears Immediately After Bathing: A 3-Step Method
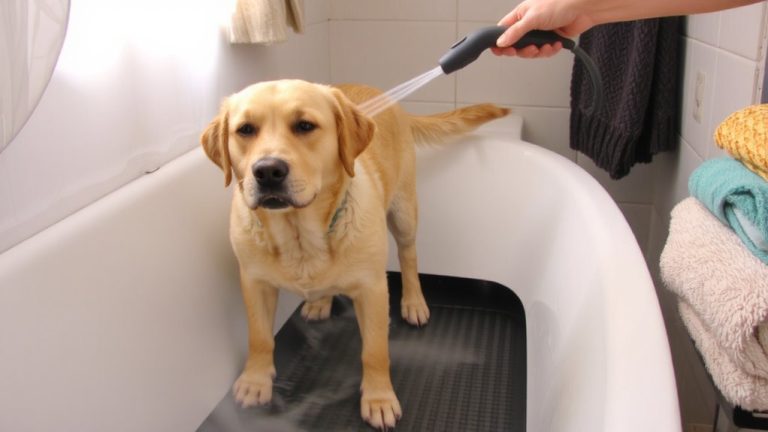
While your dog’s still in the tub, start drying their ears right away to prevent moisture buildup that can lead to infections. Begin by gently squeezing excess water from the ear flap-especially important for floppy ears that trap moisture. Immediately follow with towel drying using a super-absorbent microfiber towel to blot the ear fur thoroughly. This step is vital during dog bathing to minimize moisture trapping deep in the ear canal. Next, place dry cotton balls at the ear canal opening to wick away residual water, replacing them every few seconds until they come out dry. For dogs with thick ear hair, wrap the ear leather in paper towels before using a low-heat, low-noise dryer. Dry ears from base to tip, pausing to comb through hairs-this ear drying method guarantees complete, safe results every time.
Use Drying Solutions to Prevent Infection After Swimming
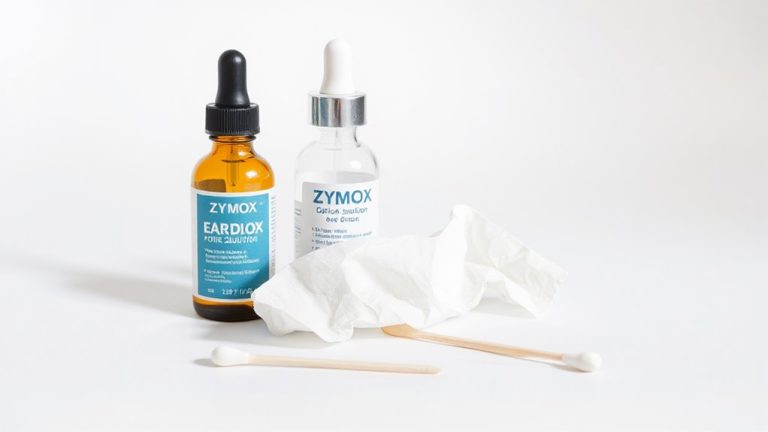
After you’ve towel-dried your dog’s ears and used cotton balls to pull out surface moisture, especially in breeds like Cocker Spaniels or Labradors with floppy ears that hold in humidity, take one extra step to keep the ear canal healthy-use a drying solution. Apply a vet-approved drying solution or a homemade vinegar solution (1 part white vinegar to 1 part water) to help acidify the outer ear and disrupt yeast and bacteria thriving in water trapped after swimming. Gently massage the base of the ear for 15–20 seconds to move the liquid through the L-shaped canal and encourage drainage. Then, let your dog shake their head to expel excess fluid. Consistent use helps prevent ear infections and chronic ear issues, especially in moisture-prone dogs. Never use drying solutions if you notice redness, pain, or discharge-consult your vet first to rule out an existing infection.
Insert Cotton Balls Before Bathing to Block Water Entry
If you’ve ever worried about water sneaking into your dog’s ears during bath time, slipping clean, dry cotton balls just inside the ear opening can make a real difference-especially for floppy-eared breeds like Cocker Spaniels or Basset Hounds that trap moisture easily. This simple trick helps insert cotton balls to block water entry and prevent water from entering the L-shaped dog ear canal. Use only dry cotton and a clean cotton ball to avoid introducing bacteria. Never push them deep-just enough to create a barrier. Remove cotton balls immediately after dog bathing so they don’t absorb internal moisture. While effective, cotton balls may shift during vigorous splashing, so monitor placement.
| Benefit | Detail |
|---|---|
| Purpose | Block water entry |
| Placement | Just inside ear opening |
| Best For | Floppy-eared dogs |
| Material | Dry, clean cotton ball |
| Caution | Don’t push into dog ear canal |
Trim Ear Hair for Faster Drying and Less Infection Risk
Your dog’s ear health hinges on keeping things dry, and trimming excess hair around the ear canal is a key step most owners overlook. When you trim ear hair, you improve airflow and reduce moisture retention in the dog ear, especially for breeds like Poodles and Bichon Frises with dense hair inside the ear canal. That trapped moisture creates a warm, damp environment perfect for bacterial growth and yeast growth, raising the risk of otitis externa by up to 60%. Gently plucking hair from the ear canal opening helps prevent water from clinging to sensitive skin after baths. Vets recommend you trim ear hair every 4–6 weeks to minimize trapped moisture and support faster drying. Proper grooming doesn’t just clean-it actively protects the ear canal from infection, keeping your dog comfortable and healthy week after week.
Recognize Signs of Water Trapped in Your Dog’s Ear
Spotting the signs of water trapped in your dog’s ear can save them from discomfort and potential infections down the line, especially if you’ve already taken steps like trimming ear hair to improve airflow. If your dog starts to shake their head or tilts it to one side, that’s often a clue water is trapped inside. Scratching at the ear or pawing at it means moisture may still be present, even if you tried to make their ears dry. Watch for redness or swelling, especially in floppy-eared breeds like Cocker Spaniels. An unusual odor suggests microbial growth from lingering water in dogs. Some dog owners might even notice a loss of balance or whimpering when the ear’s touched. These signs mean moisture hasn’t fully cleared and could lead to irritation or infection if ignored.
Know When to Call the Vet for Ear Moisture Problems
When it comes to ear moisture after a bath, don’t wait too long to act if things don’t seem right-persistent head shaking, ear scratching, or tilting that lasts more than a day could mean water’s still trapped and possibly breeding bacteria. Signs like redness, swelling, or foul-smelling discharge mean it’s time to contact a veterinarian, as these point to infections. Always check your dog’s ear before trying DIY drying-especially if it seems painful, since painful infections or a history of hearing loss require professional care.
| Symptom | Could Mean | Action |
|---|---|---|
| Head shaking >24 hrs | Trapped moisture | Contact a veterinarian |
| Foul odor/discharge | Infection | Seek immediate care |
| Hearing loss, balance issues | Serious ear damage | Always check with vet |
Prevent Recurring Ear Issues With Smart Bath Habits
Catching problems early keeps your dog comfortable and prevents vet visits, but stopping ear issues before they start comes down to how you handle bath time. Before bathing, gently place clean cotton balls inside your dog’s ears to help block water-just remove them right after to avoid irritation. Avoid spraying water directly on the head; use a damp cloth to clean around the ears instead. For Dogs with floppy ears-like Cocker Spaniels or Basset Hounds-this is essential, since their L-shaped ear canals trap moisture easily. Before the bath, clean ear hair with a clarifying shampoo to reduce oil and help airflow. After washing, massage the base of the ears so your dog can shake out excess water, then towel-dry or use a low-heat dryer to dry the inside thoroughly. These smart habits go a long way to keep ears healthy.
On a final note
Dry your dog’s ears right after baths using a soft, absorbent microfiber towel-gently wipe the outer ear and fold, then use a few drops of vet-recommended drying solution, like Epi-Otic, to evaporate trapped moisture. Insert cotton balls *before* bathing to block water, trim excess ear canal hair monthly, and check weekly for redness or odor. At the first sign of head shaking or odor, act fast-consistent care prevents 90% of infections.