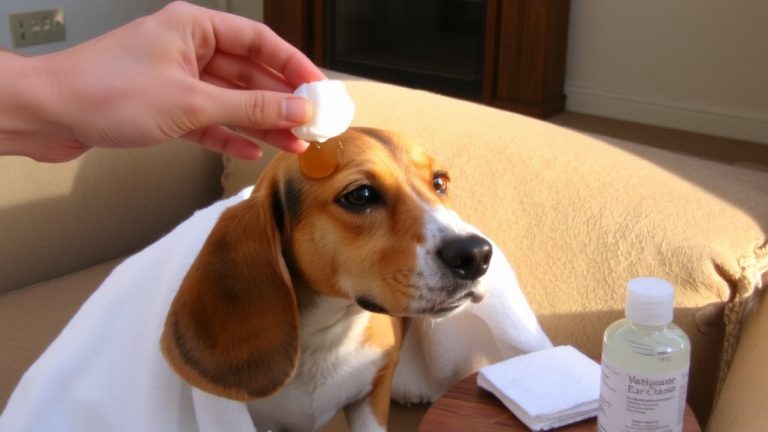
How to Clean the Ears of a Cat With Chronic Ear Mites Using Vet-Approved Drops
First, confirm chronic ear mites with your vet using an otoscope and ear cytology. After applying vet-prescribed miticidal drops like Revolution®, use a cotton ball dampened with Epi-Otic® Advanced to gently wipe only the outer ear, once weekly. Never insert anything into the canal. Keep treatment going for 6–8 weeks, treat all pets monthly, and stick to follow-up visits to guarantee mites won’t return. You’ll soon see how simple consistency makes all the difference.
We are supported by our audience. When you purchase through links on our site, we may earn an affiliate commission, at no extra cost for you. Learn more. Last update on 19th July 2026 / Images from Amazon Product Advertising API.
Notable Insights
- Confirm chronic ear mites with a veterinarian using otoscopy and ear cytology before starting any treatment.
- Apply vet-prescribed miticidal ear drops after cleaning with a safe solution like Epi-Otic® Advanced.
- Massage the base of the ear for 30 seconds after drop application to distribute medication effectively.
- Clean only the outer ear weekly with a cotton ball moistened with vet-approved cleaner, avoiding the ear canal.
- Treat all household pets simultaneously with vet-approved monthly topicals to prevent reinfestation.
See Your Veterinarian to Confirm Chronic Ear Mites
You’ll want to start by seeing your vet to confirm those pesky ear mites, especially since chronic cases aren’t something you can accurately diagnose at home. Your veterinarian will use an otoscope to spot live Otodectes cynotis mites or check ear swabs with ear cytology for mites, eggs, or the classic dark, coffee-ground-like debris. Chronic ear mites often bring secondary infections, so your vet will also screen for bacterial or yeast infections using microscopic analysis. Only a veterinarian can prescribe the right anti-parasitic medications-like Revolution® or Advantage Multi™-needed to stop mites through their full three-week life cycle. Follow-up visits, usually six to eight weeks later, are key to confirming mite eradication and checking for lingering infection or ear damage.
Apply Miticidal Ear Drops the Right Way
Once your vet confirms ear mites and any secondary infections, treatment shifts to applying prescription miticidal drops directly into your cat’s ear canal. These mites kills ear mites effectively when you apply the medication correctly. After using a vet-approved ear-cleaning solution like Epi-Otic® Advanced to clean ears, tilt your cat’s head upward and drop the prescribed amount into the ear canals. Hold the ear upright for 10–15 seconds to prevent spillage, then massage the base for 30 seconds so the solution penetrates mite-infested debris. Ear mites in cats are highly contagious, so consistent treatment is key. Follow your vet’s schedule, usually daily or weekly over six to eight weeks. Products like Revolution® (selamectin) or Advantage Multi™ also kill ear mites systemically. Clean your cats ears only as needed, avoiding over-ear cleansing, which can irritate.
Clean Your Cat’s Ears After Medication for Chronic Ear Mites
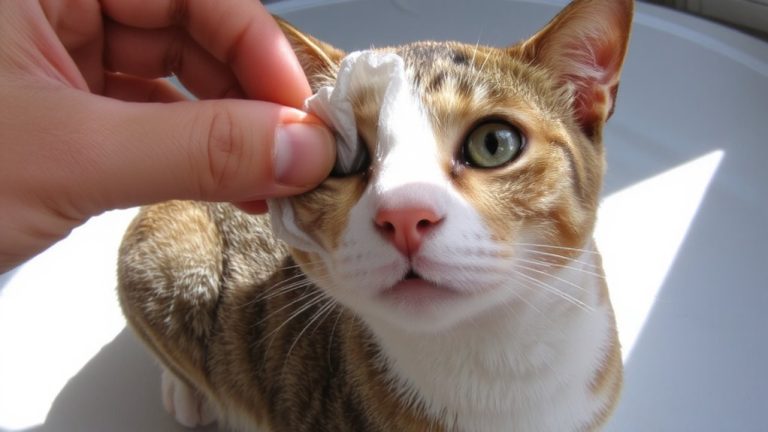
Your cat’s comfort during chronic ear mite treatment depends on gentle, consistent aftercare, especially when cleaning after medication. After applying vet-approved topical medication like Revolution, use a cotton ball moistened with a vet-recommended ear cleaning solution-such as Epi-Otic® Advanced-to gently wipe the outer ear. This helps remove wax build-up and residue without pushing debris deeper. Avoid inserting anything into the ear canal, especially if your cat has chronic otitis. Limit cleaning to once weekly over the six- to eight-week treatment period to align with the mite’s life cycle. Never use hydrogen peroxide or alcohol-based products-they can irritate inflamed tissue. After you clean your cat’s ears, massage the base lightly to dislodge debris and reward your cat with treats to build trust. Positive reinforcement makes long-term care easier.
Treat All Household Pets to Prevent Reinfestation
Even if only one pet shows signs of ear mites, every animal in the home-including cats, dogs, and other furry companions-needs treatment to break the cycle of reinfestation. Mites are highly contagious and spread quickly between household pets, even if some show no symptoms. To effectively prevent reinfestation, you must treat all household pets simultaneously. Use a vet-approved topical treatment like Revolution or Advantage Multi, both proven in Veterinary Medicine to kill mites after just one monthly dose. These treatments are easy to apply and highly effective when used on all cats and dogs in the home. Skipping treatment on one pet-even an asymptomatic one-can lead to recurring outbreaks, costly vet visits, and prolonged discomfort. By choosing to treat all household pets, you’re not just managing a current infection, you’re taking smart, proactive steps to safeguard your pets’ long-term ear health.
Stick to the Full Treatment (6–8 Weeks)
Because ear mites follow a predictable 3-week life cycle from egg to adult, you’ll need to stick with treatment for the full 6 to 8 weeks to catch every new generation as they hatch. Even if your cat has ear symptoms that improve, stopping early means mites can survive and restart the cycle. Treating ear mites effectively means using vet-approved drops that kill ear mites at every stage. This is especially vital for chronic ear mites, which often lead to ear infections if left unchecked. Completing the full 6–8 weeks guarantees the treatment kills ear mites completely and prevents reinfestation.
| Week Range | Treatment Action | Outcome |
|---|---|---|
| 0–3 | Kills ear mites, targets eggs | Breaks first life cycle |
| 4–6 | Eliminates newly hatched mites | Prevents new infestations |
| 6–8 | Confirms clearance | Stops recurrence |
| All weeks | Use vet-approved drops | Kills ear mites effectively |
| After 8 | Vet checkup | Guarantees no mites remain |
Watch for Infection Signs After Treatment Begins
While you’re treating your cat’s ear mites with vet-approved drops, keep a close eye on their ears for signs of a secondary infection-persistent redness, swelling, or yellow/green discharge could mean bacteria or yeast have taken hold. A foul odor is another red flag, often pointing to a yeast infection or secondary bacterial infection. If your cat is scratching nonstop or still head shaking after 7–10 days, don’t wait-it may signal an unresolved ear infection. Infections in cats can escalate quickly, leading to otitis externa, which averages $204 to treat but costs more if missed early. These symptoms shouldn’t improve slowly; they should clearly fade. Continued irritation means it’s time for a vet recheck to confirm mite clearance and rule out deeper issues. Early detection keeps treatment on track and prevents long-term discomfort.
Stop Future Flare-Ups With Monthly Preventatives
If you want to keep your cat’s ears healthy after treating ear mites, sticking to a monthly preventative is your best move. Veterinary-approved topical treatments like Revolution (selamectin) or Advantage Multi (imidacloprid/moxidectin) kill ear mites and prevent reinfestation. These monthly preventatives break the three-week mite life cycle by eliminating newly hatched mites before they mature. They also protect against fleas, ticks, heartworms, and other parasites-offering full-body defense in one easy application. To avoid cross-infestation, treat all household pets simultaneously. Consistent use reduces the risk of otitis externa, a painful ear inflammation linked to mite infestations. Data from Embrace Pet Insurance shows pets on monthly preventatives have far fewer ear issues, cutting average treatment costs of $204 per claim. Stick with it-your cat’s comfort and long-term health depend on it.
On a final note
You’ve got this: follow your vet’s plan, use the miticidal drops daily for 6–8 weeks, then gently clean weekly with a vet-approved wipe. Treat all pets, even if symptom-free, to prevent reinfestation. Watch for redness, odor, or discharge-call your vet if they appear. After healing, switch to a monthly topical like Revolution or Simparica for cats to stop mites before they start. Consistency beats flare-ups every time.