How to Clean a Dog’s Ears After Swimming to Prevent Swimmer’s Ear
After each swim, clean your dog’s ears with a 1:1 mix of white vinegar and water to dry the canal fast, lower pH, and stop bacteria and yeast growth. Fill the ear, massage the base for 15–20 seconds, then let your dog shake it out. Wipe away residue with a cotton ball-never insert anything deep. This vet-approved rinse works best when paired with thorough drying and regular ear checks, especially for floppy-eared breeds like Labradors or Cocker Spaniels, and sets the stage for smarter, long-term ear care you can trust.
We are supported by our audience. When you purchase through links on our site, we may earn an affiliate commission, at no extra cost for you. Learn more. Last update on 19th July 2026 / Images from Amazon Product Advertising API.
Notable Insights
- Dry your dog’s ears thoroughly after swimming using a towel or cotton ball to prevent moisture buildup.
- Apply a 1:1 mixture of white vinegar and water to acidify the ear canal and inhibit bacterial growth.
- Massage the base of the ear for 15–20 seconds to help loosen debris and distribute the solution.
- Allow your dog to shake their head to expel water and debris from the ear canal.
- Wipe away excess solution and residue with a cotton ball, avoiding deep insertion into the ear.
Use This Vet-Approved Vinegar Rinse
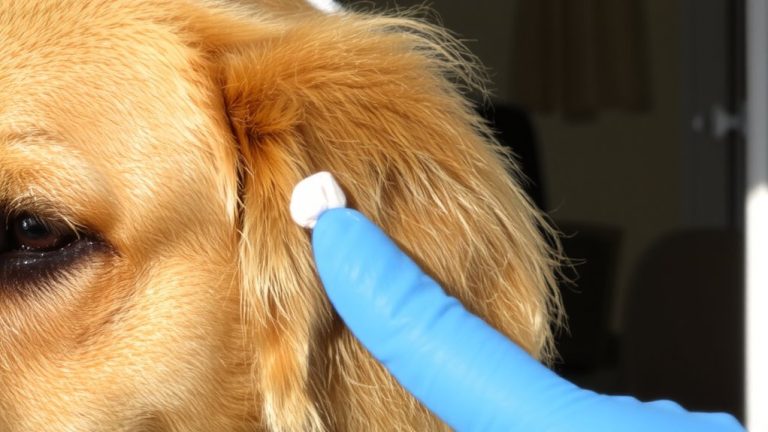
A simple vinegar rinse can go a long way in keeping your dog’s ears healthy after a swim. Mix equal parts white vinegar or apple cider vinegar with clean water to create an at-home ear cleaning solution that safely acidifies the ear canal. This balance helps inhibit bacteria and yeast, reducing the risk of ear infections. Fill your dog’s ear canal with the solution, then massage the base for 15–20 seconds to loosen debris and moisture. Let your dog shake their head-this natural reflex clears water and gunk from the L-shaped canal. Finally, gently wipe away residue with a cotton ball. Never insert anything deep. Use this rinse only on healthy ears; skip it if you notice redness or discharge. It’s a simple, effective step for routine care.
When to Stop Home Care and See the Vet
While home care can keep your dog’s ears healthy after swimming, you’ll want to stop using any at-home rinses and call your vet right away if you notice signs like pain, redness, or swelling-these often mean an infection has taken hold. If your dog is shaking their head constantly or shows excessive head tilting, it’s a red flag. Look for foul-smelling discharge, dark debris, or visible scabs, all common signs of infection like otitis externa. Never use vinegar rinses or drying solutions if you suspect your dog’s eardrum is compromised-these can worsen pain and damage. Even with diligent cleaning, if symptoms persist beyond 24–48 hours, seek care fast. Left untreated, ear infections can spread deeper, risking otitis media or permanent hearing issues. Your vet can diagnose the cause, prescribe proper meds, and protect your dog’s long-term ear health.
Prevent Swimmer’s Ear With 4 Daily Habits
You can stop swimmer’s ear before it starts by building four simple habits into your dog’s routine, especially after every dip. First, dry your dog’s ears thoroughly-moisture in the ear canals breeds bacteria or yeast. Use cotton balls or gauze to wipe the outer ear; never insert deep. Second, routinely clean dogs ears after swimming with a vet-approved ear cleaner-or a 1:1 mix of white vinegar and sterile water-to safely acidify the ear canals. Third, massage the base of the ear for 15–20 seconds after applying solution so it reaches deep into the L-shaped canals, essential for dogs with floppy ears. Fourth, trim hair around the opening weekly to boost air circulation. Together, these steps for cleaning your dog’s ears help prevent swimmer’s ear long-term.
Why Dogs Get Swimmer’s Ear After Swimming
Because water easily gets trapped in your dog’s L-shaped ear canals during swimming, it creates a dark, damp environment where bacteria and yeast multiply fast-especially in breeds like Labradors, Goldens, and Cocker Spaniels, whose floppy ears limit airflow. This moisture retention disrupts the natural microbiome in the dog’s ear canal, making it easier for pathogens to thrive. Swimmer’s ear happens when water trapped after swimming carries bacteria from lakes or ponds-or even pool chemicals that imbalance the ear’s flora. Floppy-eared breeds are most prone, but any dog can develop ear infections if water isn’t removed promptly. Frequent swimming increases debris buildup and prolongs wetness, further elevating risk. You’ll want to dry ears thoroughly post-swim to protect against infection.
On a final note
Keep your dog’s ears dry after swimming to prevent infections-use a vet-approved vinegar rinse with a 1:1 white vinegar-to-water mix, gently wiping the outer ear with a cotton ball. Don’t insert anything into the ear canal. Dry ears reduce bacteria and yeast buildup. If you notice redness, odor, or excessive scratching, stop home care and see your vet. Routine cleaning, good airflow, and ear drying are key.