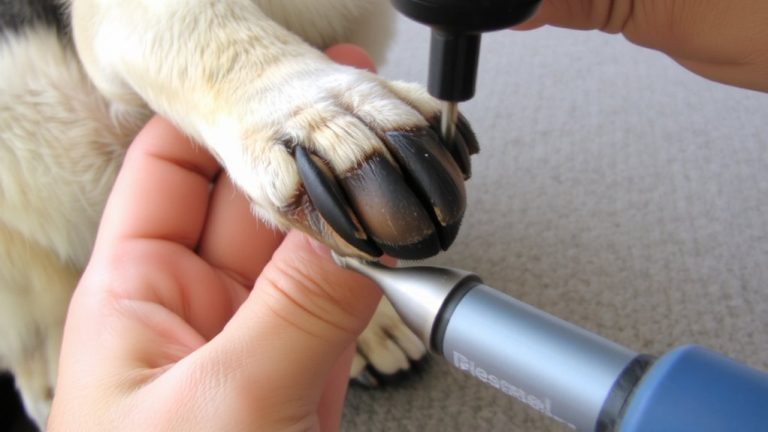
Step-by-Step Guide to Introducing Nail Trimming to a Skittish Kitten
Start trimming your skittish kitten’s nails at four weeks using quiet, kitten-sized clippers to build trust early. Let her sniff the tool first, then pair it with treats for positive associations. Only clip the white tip, avoiding the pink quick-especially essential since it’s close to the base in kittens. Use the “Kitty Burrito” wrap if she resists, press gently on one paw at a time, and end with a freeze-dried chicken reward; consistency every 10–14 days keeps claws healthy and stress low. You’ll discover even wary kittens learn to tolerate trims with the right routine.
We are supported by our audience. When you purchase through links on our site, we may earn an affiliate commission, at no extra cost for you. Learn more. Last update on 19th July 2026 / Images from Amazon Product Advertising API.
Notable Insights
- Start nail trims early, at four weeks old, to build familiarity and reduce fear over time.
- Let your kitten sniff cat-specific clippers daily and pair them with treats to create positive associations.
- Only trim the white tip of each claw, avoiding the pink quick to prevent pain and bleeding.
- Use the Kitty Burrito Method to gently restrain your skittish kitten during short, calm sessions.
- End every handling or trimming attempt with high-value treats to reinforce a positive experience.
Start Early: Trim Kitten Nails Safely
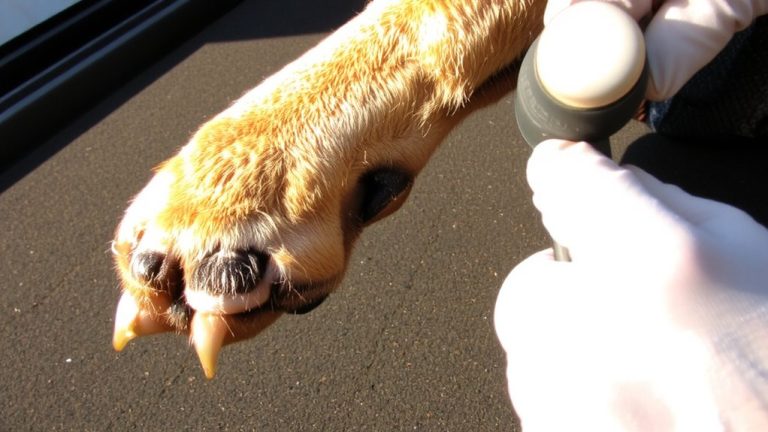
While your kitten’s tiny paws may seem too small to handle, starting nail trims as early as four weeks old sets the foundation for a calm, cooperative routine. Early cat nail trimming helps your kitten get used to handling and prevents fear. Use a cat-specific nail trimmer to safely cut only the white part of each claw, avoiding the pink quick-where nerves and blood vessels live. Your kitten has 18 claws: five on each front paw, including the higher dewclaw, and four on each hind paw. Focus on just one or two nails per session at first. Always trim the white part, never the quick, to prevent pain. Handle each cat’s paw gently, and immediately follow with treat-based positive reinforcement. Trim every 10 to 14 days to keep kitten’s nails short, healthy, and safely cut.
Let Your Kitten Sniff the Clippers
If you want your kitten to stay calm during nail trims, let them sniff the clippers first-this simple step builds trust and reduces fear by letting your kitten explore the tool on their own terms. Offer small, cat-specific clippers that are quiet and properly sized for a kitten’s tiny nail. Hold them out slowly, letting your kitten sniff at their own pace-never force it. When they show interest, praise softly and give a treat to create a positive link with nail clipping. Repeat this sniffing step daily for just 3–5 seconds. Over time, your kitten will associate the clippers with good things. When ready, you can gently press a paw gently to expose the cat’s claws, always staying calm and patient. This routine helps provide your cat a stress-free trim and keeps both of you in control.
Clip the White Tip, Not the Quick
The quick-the pink core inside your kitten’s claw-contains nerves and blood vessels, so cutting into it can cause pain and bleeding, something both you and your kitten want to avoid. When you trim your cat’s nails, always clip the white tip, not the pink part. The area called the quick is especially close to the base in kittens, so only the very tip of each cat nail should be trimmed. Think of it like a human nail: you only cut what’s clear and dead, not the sensitive bed underneath. Light-colored nails let you clearly see the quick, but with dark claws, trim tiny slivers to be safe. Most cats’ nails need trimming every 10–14 days. Use sharp clippers designed for cat nail care, and keep styptic powder on hand in case you accidentally nick the blood vessels.
Calm a Resisting Kitten
How do you safely handle a kitten that squirms the moment you reach for her paws? Use the Kitty Burrito Method-wrap her in a soft towel, exposing just one paw at a time to limit handling and prevent scratches. Apply gentle neck pressure, mimicking how a mother cat carries her young, which can calm a resisting kitten. Keep sessions brief-10 to 15 seconds-with paws touched only briefly at first. If she struggles, stop immediately and take a break. Try again when she’s drowsy or after nursing. Build gradual tolerance by ending each session with high-value treats like freeze-dried chicken. This creates positive associations with restraint. With patience, your kitten will accept more handling over time, making nail trims easier, safer, and stress-free for both of you.
On a final note
You’ve got this. Start trimming early, use sharp clippers like Boshel Pet Nail Trimmer, and only snip the white tip-avoid the pink quick. Let your kitten sniff the tool first, stay calm, and reward with treats. If she resists, wrap her gently in a towel, exposing one paw at a time. Most kittens adjust within 2–3 sessions, especially when you keep it quiet and positive. Regular trims mean safer play and healthier paws.